
Search for the Solution?
Reduce & Compress Image Size and Resolution in cPanel/WHM
How to Reduce & Compress Image Size and Resolution Server-Wide in WHM for All cPanel Accounts
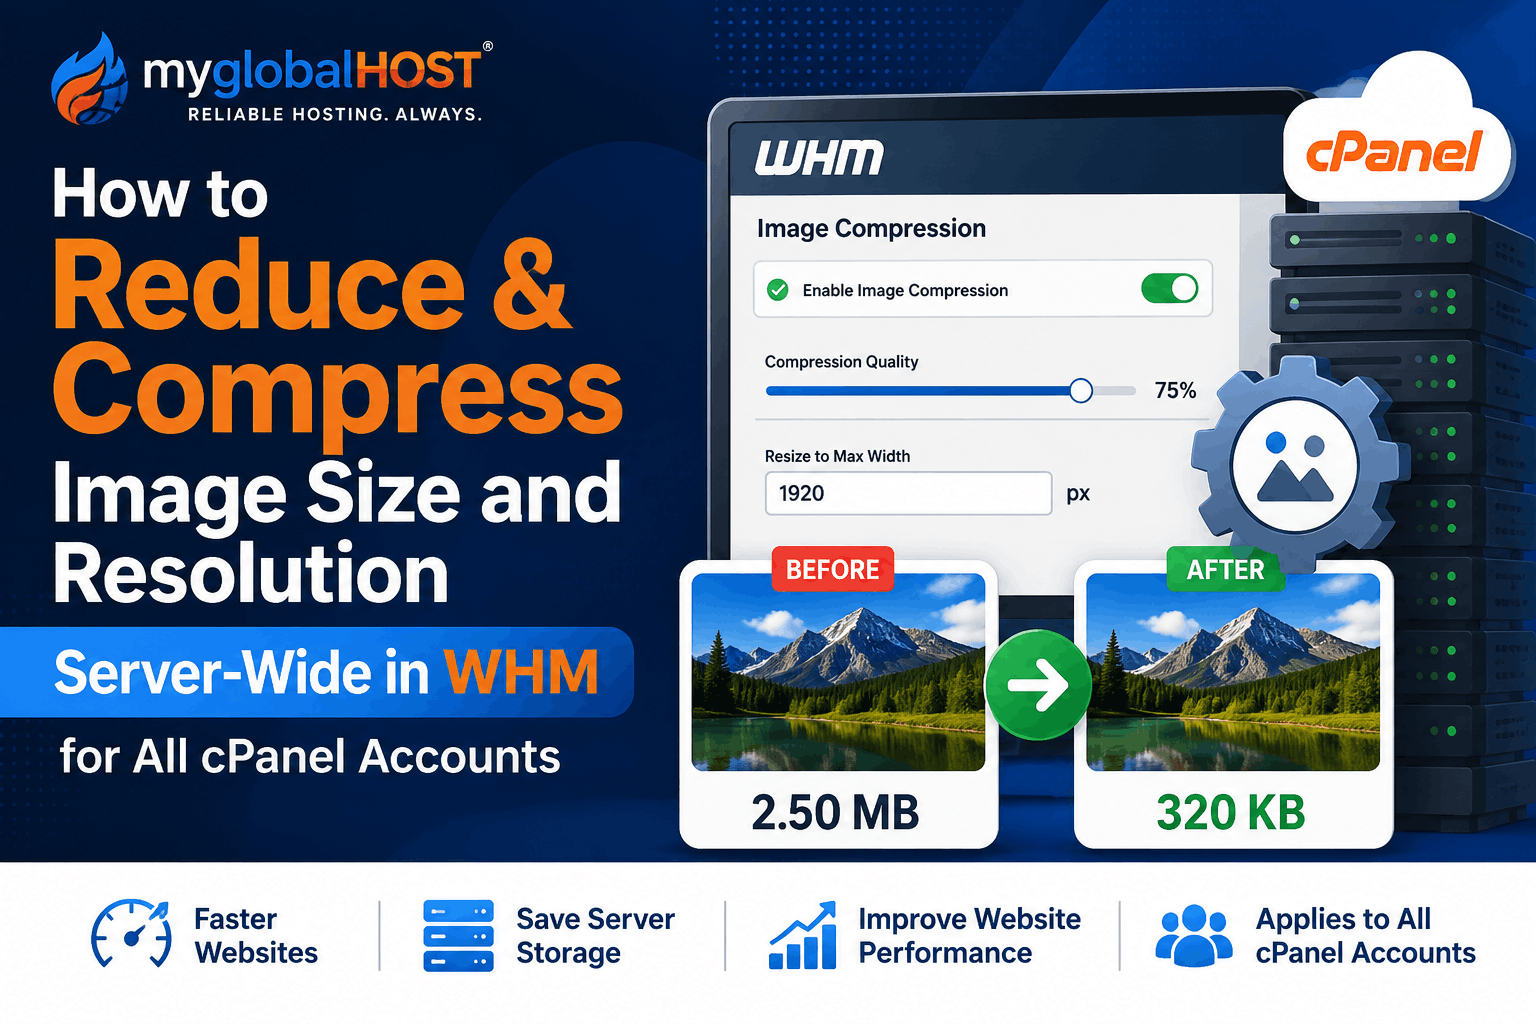
Large, unoptimized images are one of the biggest hidden causes of slow-loading websites, bloated backups, and rising disk usage on shared and VPS servers. If you manage WHM as a hosting provider or reseller, running a server-wide image optimizer across every cPanel account is one of the fastest ways to reclaim disk space and improve page-load times for all your customers at once — without touching a single site manually.
This guide walks you through installing and running the MGH Media Optimizer, a WHM/root-level tool that scans every cPanel account on the server, resizes oversized images, and compresses large JPG, JPEG and PNG files — safely, in parallel, and without altering filenames, paths, or permissions.
Why Server-Wide Image Compression Matters
On any shared or reseller server, media libraries — especially WordPress wp-content/uploads folders — are usually the single largest consumer of disk space. Customers upload full-resolution camera photos, unoptimized PNG screenshots, and large product images without ever compressing them. Over hundreds of cPanel accounts, this adds up to gigabytes of wasted storage, slower backups, higher I/O load, and slower page-load times, all of which can hurt your customers’ Core Web Vitals and SEO rankings.
Optimizing images account-by-account isn’t realistic once you’re managing dozens or hundreds of accounts. A server-wide, root-level tool that scans /home/*, resizes oversized images, and compresses large files in parallel is the practical way to solve this at scale — which is exactly what this guide covers.
If you’re also tuning overall server performance, it’s worth pairing this with LiteSpeed Cache configuration for WordPress and choosing the right web server in our Apache vs LiteSpeed vs Nginx comparison.
Important Safety Notice
Please read this section fully before running anything on a live production server.
Tip before you begin: Head to WHM → System Health → Show Current Disk Usage and take a screenshot of your current disk usage figures. Keep it aside — you’ll compare it against the same screen after the run, and the before/after difference is genuinely satisfying to see.
This script performs bulk, irreversible modifications to image files across every cPanel account on the server. While it has been designed to preserve original filenames, folder structure, file extensions, ownership, and permissions, it is still root-level, server-wide software touching live customer data.
Before you run this tool on any server:
- Take a full backup of all cPanel accounts, or a complete server/VM snapshot, before proceeding. Do not skip this step, even if you’ve run the script before.
- Test it first on a staging server or a single test account whenever possible.
- Review the command flags carefully — resolution and file-size thresholds are configurable, and the wrong values can over-compress important images.
- myglobalHOST and its representatives are not responsible for any data loss, image corruption, quality degradation, or downtime resulting from the use of this script. It is provided as-is, for administrators who understand root-level server operations.
Think first, back up first, then proceed. If you’re unsure at any step, open a support ticket — see how to open a ticket at myglobalHOST — before running this on a production server.
What This Tool Does
The MGH Media Optimizer scans every account under /home/* and applies two independent, configurable rules:
- Resolution rule — any image exceeding your configured width × height is resized proportionally to fit inside that limit.
- File-size rule — any image at or above your configured size threshold (e.g. 2 MB) is recompressed, even if its resolution is already within limits.
It automatically excludes core and sensitive directories so it never touches application files:
wp-adminwp-includeswp-content/pluginswp-content/themes- backup and cache folders
Every optimized image keeps the same folder, path, filename, extension, owner, and permissions — only the pixel dimensions and/or compression level change.
Files You Need
For a brand-new server, you need both of the following files. The toolkit installer alone does not include the optimization engine — it only installs the supporting commands (fast-run, summary, log cleanup) that wrap around the main script.
| File | Purpose | Source URL |
|---|---|---|
mgh-media-optimizer-v2.4.py |
The core engine — scans, resizes, and compresses images | # |
install-mgh-media-toolkit.sh |
Installs mgh-media-fast-run, mgh-media-summary, and mgh-media-log-cleanup, plus the hourly log-cleanup cron job |
# |
You’ll download both files directly onto the server into /root/ using wget — covered in Step 1 below.
Step 1: Log In to Your Server and Download the Files
a) Log in to your server’s terminal
You can reach the root terminal in either of two ways:
- WHM → log in to WHM as root, then go to WHM Home → Terminal (search “Terminal” in the WHM sidebar).
- SSH → connect directly from your local machine:
ssh root@your-server-ip
b) Move into the root home directory
Every command in this guide is run from /root, so switch into it first:
cd /root
c) Download both script files directly onto the server
Use wget to pull the files straight from the source URLs — there’s no need to upload anything manually via FTP or File Manager:
wget https://whm-mgh-media.myglobalhost.net/install-mgh-media-toolkit.sh
wget https://whm-mgh-media.myglobalhost.net/mgh-media-optimizer-v2.4.py
d) Confirm both files downloaded successfully
ls -lh /root/mgh-media-optimizer-v2.4.py /root/install-mgh-media-toolkit.sh
You should see both files listed with their file sizes. If either command fails or a file is missing (0 KB, or a “command not found” for wget), check your server’s outbound network access, then re-run the wget command before continuing.
If you’re new to accessing your server this way, our Shared Hosting vs VPS Hosting guide explains which plans give you root/WHM access in the first place. Full root access for tools like this is available on our SSD VPS and NVMe VPS.
Step 2: Install Required Packages
Install the image-processing utilities the optimizer depends on:
dnf install -y \
ImageMagick \
libjpeg-turbo-utils \
jpegoptim \
optipng \
pngquant
Confirm each tool installed correctly:
command -v convert
command -v identify
command -v pngquant
Expected output looks like:
/bin/convert
/bin/identify
/bin/pngquant
If any command returns nothing, re-run the dns install command above and check for errors before moving on.
Step 3: Install the Optimizer
With mgh-media-optimizer-2.4.py now downloaded to /root/, make it executable:
chmod 700 /root/mgh-media-optimizer-v2.4.py
Run a quick syntax/compatibility check:
python3 -m py_compile /root/mgh-media-optimizer-v2.4.py
No output means the check passed.
Install it as a proper system command:
install -m 0750 \
/root/mgh-media-optimizer-v2.4.py \
/usr/local/sbin/mgh-media-optimizer
Create the shorter alias command:
cat > /usr/local/sbin/mgh-media-audit <<'EOF'
#!/bin/bash
exec /usr/local/sbin/mgh-media-optimizer "$@"
EOF

chmod 750 /usr/local/sbin/mgh-media-audit
Verify the installed version:
grep 'VERSION =' /usr/local/sbin/mgh-media-optimizer
Expected:
VERSION = "2.4.0-py36"
Test that the command responds:
mgh-media-audit --help
Step 4: Install the Media Toolkit
Now install the supporting toolkit, which adds the fast bulk-run command, the summary reporting command, and automatic log cleanup:
chmod 700 /root/install-mgh-media-toolkit.sh

bash /root/install-mgh-media-toolkit.sh
Confirm all four commands are now available:
command -v mgh-media-audit
command -v mgh-media-fast-run
command -v mgh-media-summary
command -v mgh-media-log-cleanup
Expected:
/usr/local/sbin/mgh-media-audit
/usr/local/sbin/mgh-media-fast-run
/usr/local/sbin/mgh-media-summary
/usr/local/sbin/mgh-media-log-cleanup
Step 5: Run a Server-Wide Bulk Compression
Before running this command, confirm you have completed a full account backup or server snapshot as described in the safety notice above.
To compress and resize images across every cPanel account in parallel, run:
mgh-media-fast-run \
--workers 6 \
--min-mb 2 \
--max-width 1250 \
--max-height 800 \
--jpeg-quality 85
What each flag controls:
| Flag | Meaning |
|---|---|
--workers 6 |
Number of accounts processed in parallel |
--min-mb 2 |
Recompress any image 2 MB or larger, regardless of dimensions |
--max-width / --max-height |
Resize any image exceeding these dimensions, proportionally |
--jpeg-quality 85 |
Compression quality applied to recompressed JPEGs |
By default, the fast runner uses –nobackup, meaning original copies are not retained and no extra disk space is consumed during the process — which is exactly why taking your own backup or snapshot beforehand is essential, not optional.
Adjust –workers based on your server’s CPU core count and current load — start conservatively (e.g. 2 or 3) on smaller VPS plans, and scale up on higher-resource Cloud Hosting or dedicated environments.
Step 6: Monitor a Running Job
The fast runner prints the master log location as soon as it starts. You can also locate the most recent run manually:
RUN_DIR=$(ls -1dt /var/log/mgh-media-optimizer-v2/runs/* | head -1)
echo "$RUN_DIR"
Watch live progress:
tail -F "$RUN_DIR/master.log"
Check how many worker processes are currently active:
pgrep -fc '/usr/local/sbin/mgh-media-optimizer'
With --workers 6, this should not exceed six. You can also keep an eye on overall server load throughout the run:
uptime
Step 7: Review the Results
Once the job finishes, generate a summary report:
mgh-media-summary
For a more detailed breakdown of the top accounts by savings:
mgh-media-summary --top 25
The report includes:
- Accounts completed
- Images inspected, optimized, and skipped
- Failed images and failure categories
- Original vs. final optimized size
- Total disk space saved and reduction percentage
- Run duration
- Top accounts by savings
- Largest individual image reductions
This is the number to share with your team or customers when demonstrating the disk-space savings from the run.
Automatic Log Cleanup
To keep /var/log tidy, the toolkit installs an hourly cron job that automatically deletes completed run logs and reports older than 24 hours:
cat /etc/cron.d/mgh-media-log-cleanup
Preview what would be deleted, without deleting anything:
mgh-media-log-cleanup --hours 24 --dry-run
Run cleanup manually at any time:
mgh-media-log-cleanup --hours 24
Cleanup automatically skips itself while an optimizer job is actively running, so it won’t interfere with an in-progress compression run.
Final Checklist
A correctly configured server should have all of the following in place:
/usr/local/sbin/mgh-media-optimizer
/usr/local/sbin/mgh-media-audit
/usr/local/sbin/mgh-media-fast-run
/usr/local/sbin/mgh-media-summary
/usr/local/sbin/mgh-media-log-cleanup
/etc/cron.d/mgh-media-log-cleanup
Summary: two files — the v2.4 optimizer engine and the toolkit installer — are required for a fresh install. Always back up your accounts or take a server snapshot before running a bulk job, since the process modifies live image files across every cPanel account on the server. Proceed only once you understand what the tool does and have verified your backups are in place.
See the Results for Yourself: Check Disk Usage in WHM
Once your run completes, log back in to WHM → System Health → Show Current Disk Usage and compare it against the screenshot you took before you started.
This is where the mgh-media-optimizer really proves itself. Across hundreds of cPanel accounts, oversized and uncompressed images are almost always the single biggest, most avoidable source of wasted disk space on a server — and this is the tool built to claw that space back, safely and at scale, without you having to touch a single account by hand.
Server administrators running this for the first time are consistently surprised by the numbers: double-digit percentage reductions in overall disk usage are common, sometimes freeing up tens or even hundreds of gigabytes on busier servers — all while every image, filename, folder, and permission stays exactly where it was. That’s disk space you can put back into headroom for new accounts, faster backups, lower I/O pressure, and a leaner, faster-loading server for every customer on it.
This kind of purpose-built, root-level tooling is exactly what sets myglobalHOST apart — we don’t just sell hosting, we build the tools that keep servers genuinely optimized, and we share them freely with our community so every administrator can benefit. Run it, take the screenshot, and see the difference for yourself.
Related Resources
- Shared Hosting vs VPS Hosting: Which Is Right for You?
- What Is NVMe SSD Hosting and Why Is It Faster Than Regular SSD?
- How to Set Up LiteSpeed Cache in cPanel for WordPress
- Apache vs LiteSpeed vs Nginx: Which Web Server Is Fastest?
- Understanding WooCommerce Hosting Requirements
- How to Check Your cPanel/WHM Version
- How to Open a Support Ticket at myglobalHOST
Need root-level access to run tools like this yourself? Explore our SSD VPS and NVMe VPS plans.